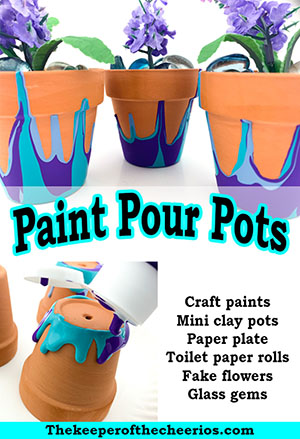
Mini Clay Pot Paint Pour Activity

Supplies:
Variety of colored craft paints
Mini clay pots (2.5 in. diameter)
Paper plate
Toilet paper rolls
Short fake flower stems
Glass gems (or other pot filler)
Directions:
Prepare the work space. Use a paper plate for this project in case of any paint spills.
Turn the clay pots over, bottom side up.
Start with desired paint color. Slowly pour paint around the bottom of the clay pot. Allow the paint to slowly fall over the sides of the pot.
Repeat this step with other colors. As the paint starts to slowly fall down the sides, consider using the toilet paper rolls to support the clay pots up in case the paint hits the bottom edge of the pot. Paint will then drip down onto the paper plate instead of puddling up at the bottom around the edge of the pot.
Note: These pots easily held up the toilet paper rolls. However, if using a different size pot, you’ll need to consider supporting the pot with a different object.
Continue pouring until you get the desired effect. You don’t want to pour too much as you’ll need plenty of drying time to complete this craft.
Once completed, set aside to dry completely.
When dry, turn the pots over and fill with the glass gems. Place a flower stem in the middle of the pot. Display!